During home renovation and remodeling, you need to consider different options. Alltools and supplies help you to decide which will work for the rest of the installation.
Cement boards are the leading and important construction materials. These are useful in walls, countertops, and floors. However, the function of cement boards is similar to drywall. But due to some reasons, boards are famous among builders. Because of its leading qualities and benefits, it offers a range of outcomes for construction projects.
However, before buying a cement board, you need to know its benefits. Let’s dive into this blog to learn the benefits of cement boards.
What to Know About Cement Board Before Installing it?
A cement board or backer board is composed of cement slurry and fiberglass mesh. After hardening, the boards are porous. They are useful in making many interiors and construction projects. So, these are easy to stick with grout and mortar.
Commonly the boards are available in 3/5 foot with different thicknesses. Some boards are ¼ or 5-8 inches wide. You can find out many sizes and qualities easily in the market. Planet ECO is also providing the best cement board for your construction projects!
HOW DO YOU INSTALL CEMENT BOARD? A STEP-BY-STEP GUIDE
After collecting all the supplies, you have to install cement boards. For this, follow this guide:
1. PREPARE THE AREA
First, prepare the area where you have to install boards if you have to install boards on floors and walls. Then, ensure to remove all old materials and clean the area. Before applying backer boards, the floor joists must be durable. It is better to dry lay boards and apply thin-set. It will give you an idea of which pieces should be removed.
2. CUT CEMENT BOARDS
After trimming of boards, you have to score with utility knifes. It will visually help you to use the jigsaw. You may also use the circular saw with the help of the board blade. Some boards are available with pre-lined grids. So these are easy to score and cut. However, it is better to use a jigsaw for the final cut. It is easy and fast to use and offers precise results. Don’t use the entire jigsaw blade while cutting the boards. Ensure to keep the blade small.
3. MIX AND APPLY THIN-SET MORTAR
Before applying the mortar, ensure to mix and rest it. The following are some steps to mix the mortar:
Wear a mask or respirator
Fill the bucket with clean water
Add thin-set mixture as per project size. If you have to work on a large project with a duration of more than half an hour. Then, mix the mixture in small sections. It will not let the product to dry.
Ensure to mix the thin-set with water to get the peanut butter form
Then, leave the thin-set for 10 minutes or according to manufacturer recommendations.
Now, take a trowel to slur the thin set. After laying the thin-set and layers, ensure to use the uneven side of the trowel.
4. LAY AND SECURE CEMENT BOARDS
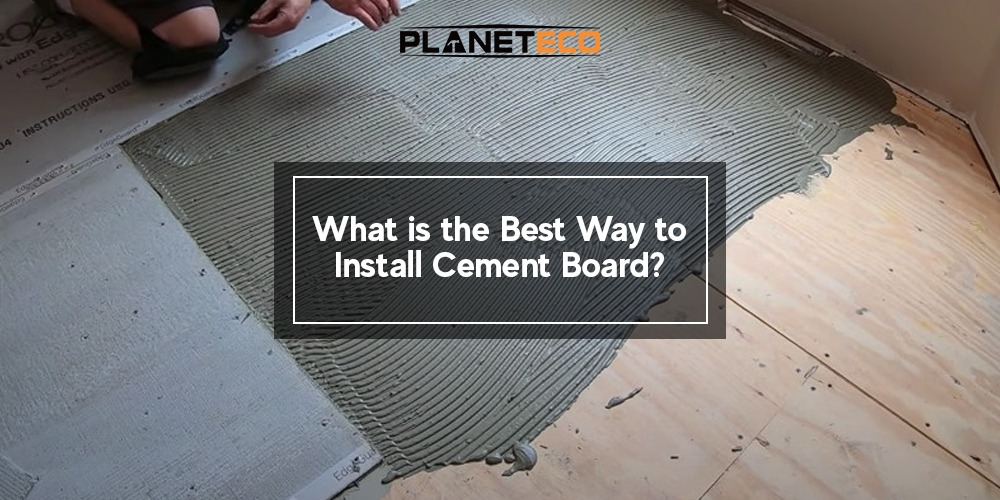
Though the tinset is wet, ensure to properly place the board on it; however ensure to place the rough sheet side on the upwards position. At this time, make sure to wear kneepads and install the boards.
With the help of a cordless drill, fasten screws on the board. After that, put screws 8-12 inches away at the board. Ensure to keep the screws even but don’t worry if the screw is slightly up.
5. TAPE THE SEAMS
Now, you have to apply the tape. Use fiberglass mesh tape to bind the mortar to the surface. It will create a durable and crack-free area. After securing all boards, you must have the mesh tape and straightedge tape knife.
Ensure to use tape at each seam of the board. Also ensure to use tape at the connecting point of the boards. After that, use the corner trowel to smooth all the tapes to the sheet.
6. SPREAD MORE THIN-SET MORTAR
After taping all corners and seams, you have to apply another thin-set mortar. At this time, you have to mix a new batch to use.
Ensure to thoroughly cover all the mesh tapes. Also, ensure that there are no uneven mounds or lumps. In the end, allow the mortar to dry for some time.
Conclusion:
Have you installed cement boards, and now you have to lay tiles? For this, you need to remove all debris, such as cut pieces and thin-set mortar. Follow the above guide to learn step step-by-step installation of cement board without any issues. After following these tips you can get the best way to install these boards.
At the end, make sure to seal mortar and waterproof membrane before storing. So it will remain in better condition for home renovation. Get your required cement board from Planet ECO to bring a lasting impact to your projects!

